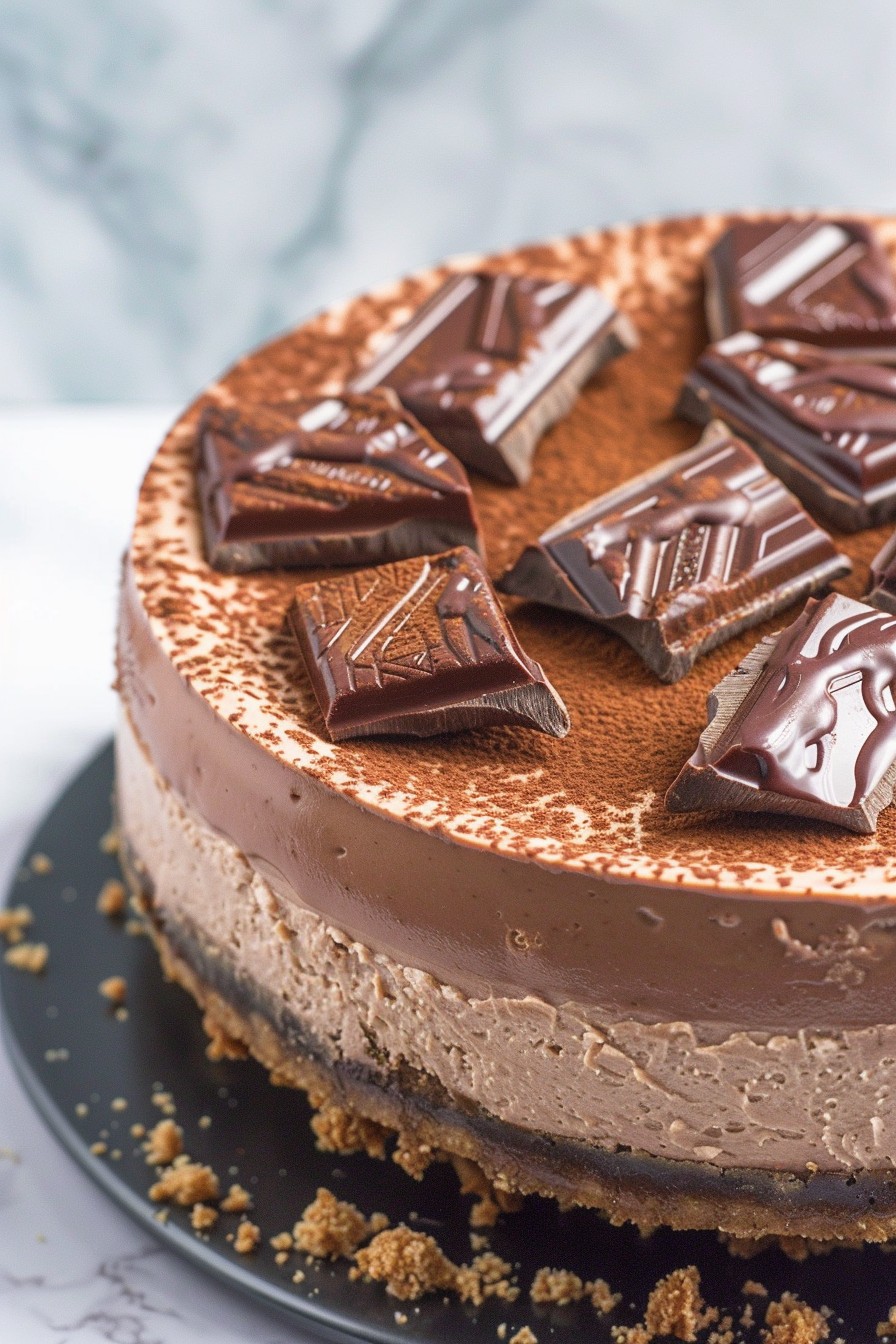

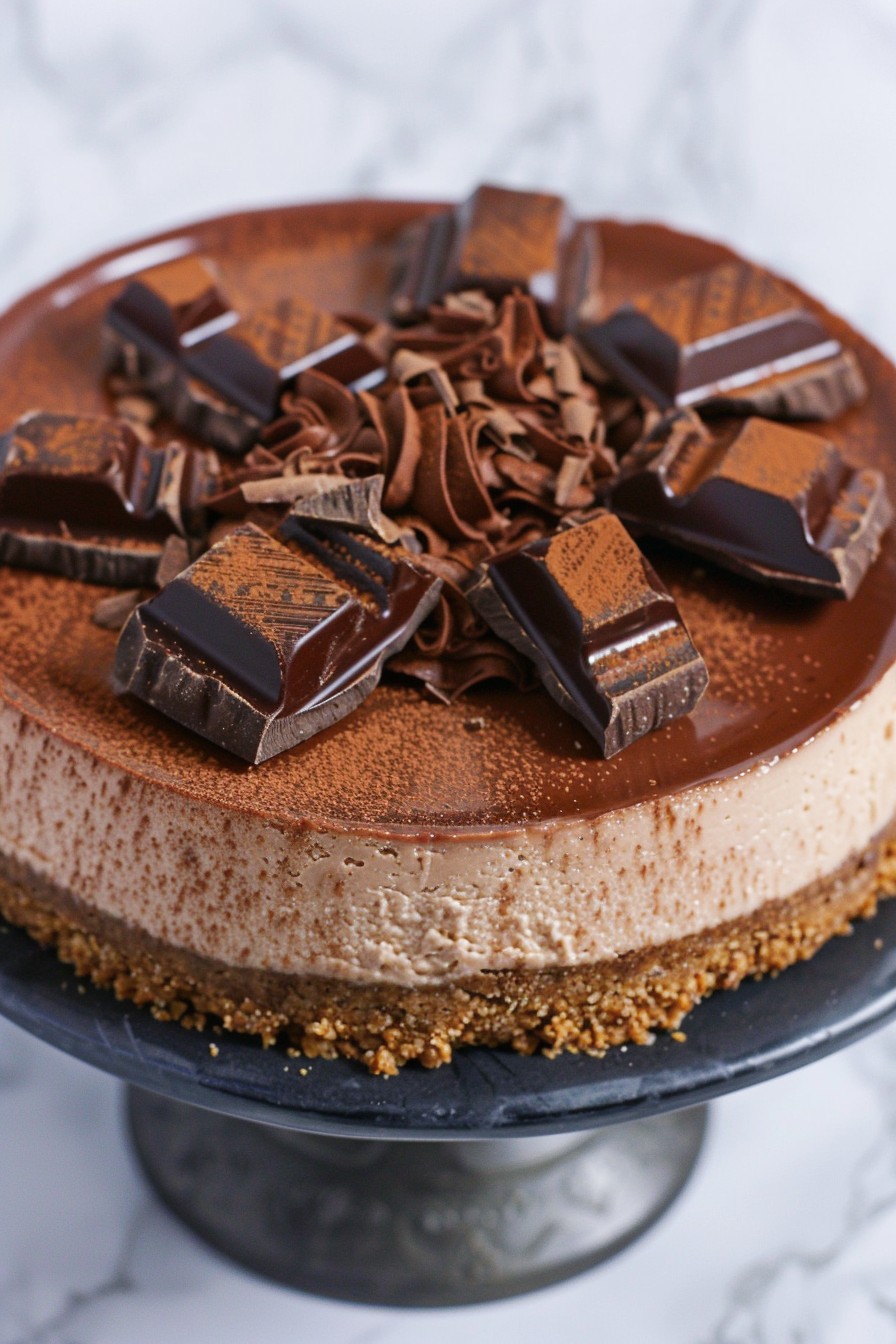
Mmm, who can resist the creamy, chocolatey goodness of a Hershey’s chocolate cheesecake? This recipe is your ticket to dessert paradise, combining the rich flavors of Hershey’s chocolate with the smooth texture of cheesecake. Perfect for any occasion, this dessert is sure to impress.
Why This Recipe Works
- The combination of Hershey’s cocoa and chocolate bars ensures a deep, rich chocolate flavor.
- A graham cracker crust provides the perfect crunchy contrast to the creamy filling.
- Baking in a water bath prevents cracks, giving you a flawless cheesecake every time.
- The addition of sour cream adds a slight tang, balancing the sweetness.
- Chilling overnight enhances the flavors and sets the texture perfectly.
Ingredients
- 1 1/2 cups graham cracker crumbs
- 1/4 cup granulated sugar
- 1/2 cup unsalted butter, melted
- 24 oz cream cheese, softened
- 1 cup granulated sugar
- 1/2 cup Hershey’s cocoa powder
- 3 large eggs
- 1/2 cup sour cream
- 1 tsp vanilla extract
- 4 oz Hershey’s chocolate bars, melted
Equipment Needed
- 9-inch springform pan
- Mixing bowls
- Electric mixer
- Measuring cups and spoons
- Aluminum foil
- Roasting pan (for water bath)
Instructions
Step 1: Prepare the Crust
Combine graham cracker crumbs, 1/4 cup sugar, and melted butter in a bowl. Press the mixture firmly into the bottom of a 9-inch springform pan. Bake at 350°F for 10 minutes, then let it cool. Tip: Use the bottom of a measuring cup to press the crust evenly.
Step 2: Make the Filling
Beat the cream cheese and 1 cup sugar until smooth. Add cocoa powder, eggs one at a time, sour cream, and vanilla, mixing well after each addition. Stir in melted Hershey’s chocolate until fully incorporated. Tip: Ensure all ingredients are at room temperature to avoid lumps.
Step 3: Bake the Cheesecake
Pour the filling over the crust. Wrap the pan in aluminum foil and place it in a roasting pan. Fill the roasting pan with hot water halfway up the sides of the springform pan. Bake at 325°F for 60-70 minutes until the center is just set. Tip: Avoid opening the oven door during baking to prevent cracks.
Step 4: Cool and Chill
Turn off the oven and let the cheesecake cool inside for 1 hour. Then, refrigerate for at least 4 hours, preferably overnight, before serving. This step is crucial for the perfect texture.
Tips and Tricks
For an extra smooth filling, pass the cream cheese through a sieve before mixing. To prevent water from seeping into the pan, ensure the foil is tightly wrapped around the springform pan. For a glossy finish, brush the top with a thin layer of melted chocolate after chilling. Experiment with different Hershey’s chocolate varieties for unique flavors. Always use full-fat ingredients for the richest taste.
Recipe Variations
- Add a layer of Hershey’s chocolate ganache on top for extra decadence.
- Mix in crushed Hershey’s cookies or pieces into the crust for added texture.
- Top with fresh berries and whipped cream for a fruity contrast.
- Use white chocolate instead of milk chocolate for a different flavor profile.
- Add a teaspoon of espresso powder to the filling to enhance the chocolate flavor.
Frequently Asked Questions
Q: Can I use low-fat cream cheese?
A: While you can, full-fat cream cheese is recommended for the creamiest texture and richest flavor. Low-fat versions may result in a less dense cheesecake.
Q: How do I know when the cheesecake is done?
A: The cheesecake is done when the edges are set but the center still jiggles slightly when shaken. It will firm up as it cools.
Q: Can I freeze the cheesecake?
A: Yes, wrap it tightly in plastic wrap and foil, then freeze for up to 2 months. Thaw in the refrigerator overnight before serving.
Summary
This Hershey’s chocolate cheesecake is a showstopper, blending rich chocolate flavors with a creamy, smooth texture. Follow the tips and variations to make it your own, and enjoy the compliments!
