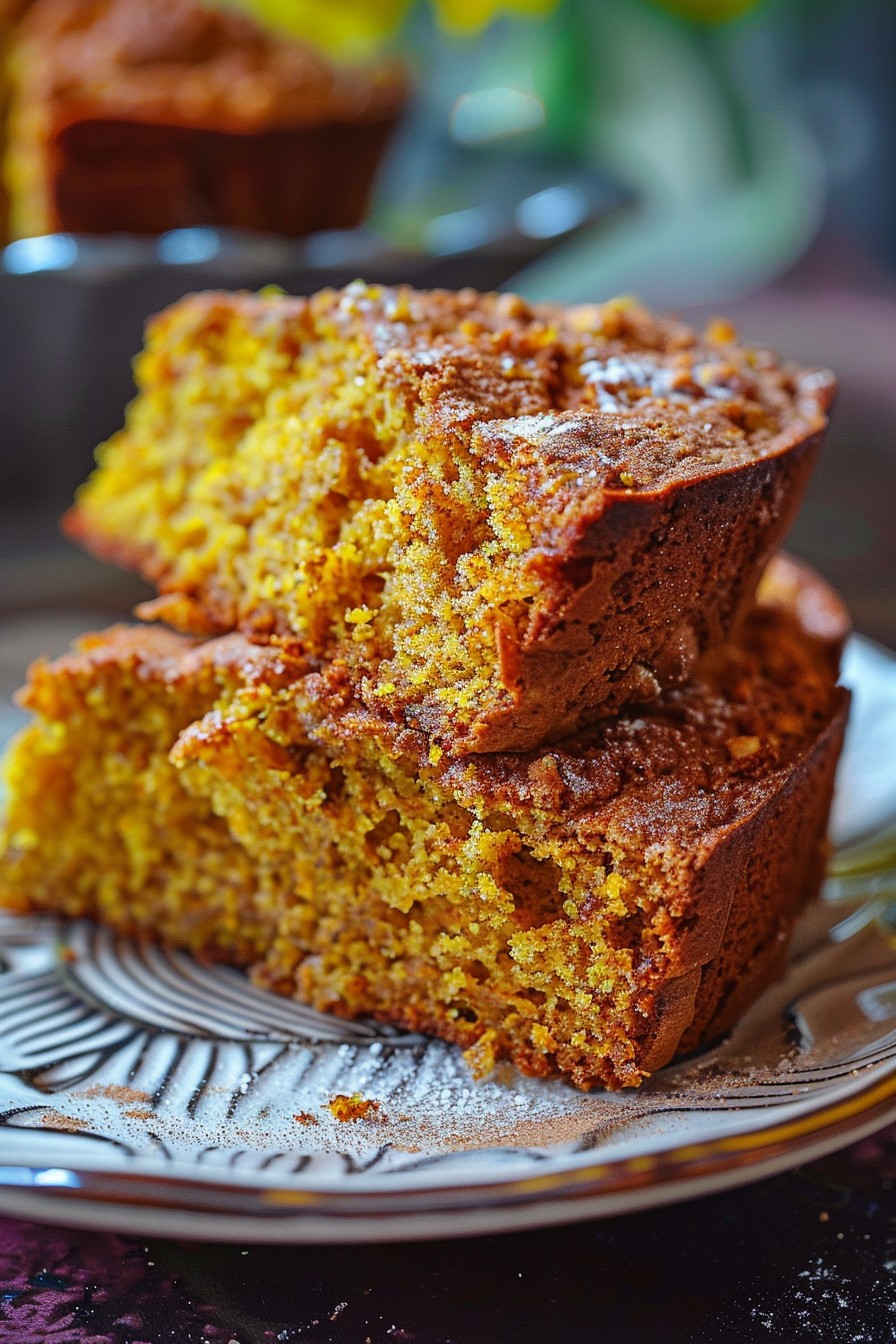

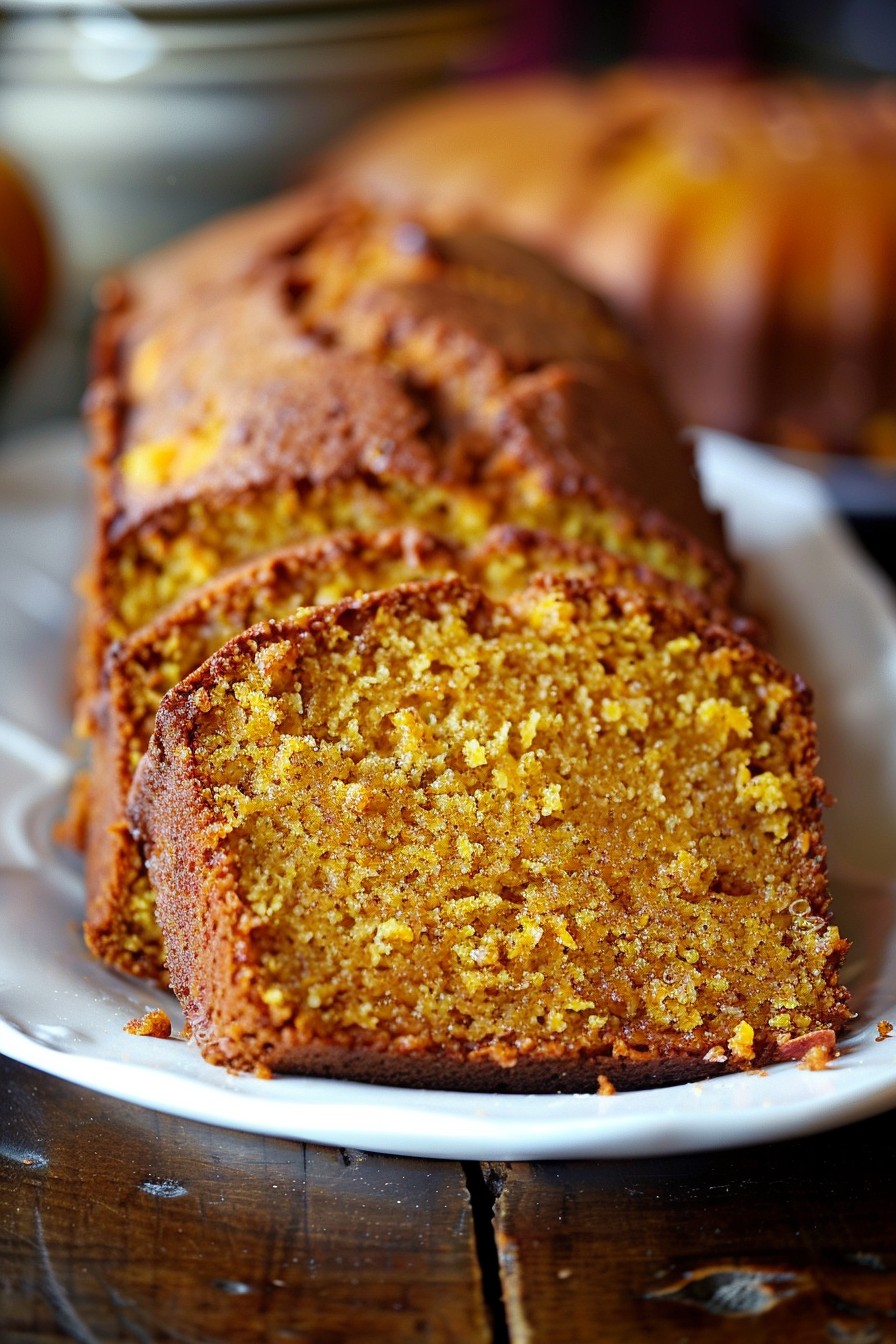
Get ready to be amazed by how yellow squash can transform into a moist, delicious cake that’ll have everyone asking for seconds. This recipe is a game-changer for summer baking!
Why This Recipe Works
- The natural moisture of yellow squash ensures your cake stays incredibly moist without being soggy.
- A perfect balance of spices enhances the squash’s mild flavor, making it a hit even with picky eaters.
- It’s a fantastic way to sneak vegetables into a dessert, making it a slightly healthier option.
- The cake’s texture is light and fluffy, thanks to the careful mixing of ingredients.
- It’s versatile! Serve it as is, or dress it up with your favorite frosting for special occasions.
Ingredients
- 2 cups grated yellow squash (about 2 medium squash)
- 3 cups all-purpose flour
- 1 1/2 cups sugar
- 1 cup vegetable oil
- 4 large eggs
- 2 tsp vanilla extract
- 1 tsp baking soda
- 1/2 tsp baking powder
- 1 tsp ground cinnamon
- 1/2 tsp ground nutmeg
- 1/2 tsp salt
Equipment Needed
- Large mixing bowl
- Whisk
- Grater
- 9×13 inch baking pan
- Parchment paper
- Cooling rack
Instructions
Preheat and Prepare
Start by preheating your oven to 350°F. Line your baking pan with parchment paper, leaving some overhang for easy removal later. This little trick saves so much hassle when it’s time to serve!
Mix Dry Ingredients
In a large bowl, whisk together the flour, sugar, baking soda, baking powder, cinnamon, nutmeg, and salt. Ensuring these are well combined before adding wet ingredients is key to a uniform texture.
Combine Wet Ingredients
In another bowl, beat the eggs, then mix in the oil and vanilla extract. Stir in the grated yellow squash. The squash should be evenly distributed throughout the mixture for consistent moisture in every bite.
Bring It All Together
Gradually add the dry ingredients to the wet mixture, stirring just until combined. Overmixing can lead to a dense cake, so a light hand is your best friend here.
Bake to Perfection
Pour the batter into the prepared pan and smooth the top. Bake for 40-45 minutes, or until a toothpick inserted into the center comes out clean. Let it cool in the pan for 10 minutes, then transfer to a cooling rack.
Tips and Tricks
For an extra moist cake, wrap it in plastic wrap once it’s completely cool and let it sit overnight before serving. This allows the flavors to meld beautifully. If you’re short on time, a quick zap in the microwave can revive the moisture of a slice. Experiment with adding nuts or raisins for texture, or swap half the oil for applesauce for a lighter version. Always grate the squash finely for the best texture, and don’t skip draining any excess moisture to keep the cake’s structure intact.
Recipe Variations
- Add a cream cheese frosting for a decadent twist.
- Mix in a cup of shredded coconut for a tropical flair.
- Substitute half the flour with whole wheat flour for a healthier option.
- Incorporate chocolate chips for a sweet surprise in every bite.
- Use zucchini instead of yellow squash for a similar but distinct flavor profile.
Frequently Asked Questions
Can I use frozen yellow squash?
Yes, but make sure to thaw and drain it thoroughly to remove excess moisture. Frozen squash can make the batter too wet, affecting the cake’s texture.
How should I store the cake?
Keep it in an airtight container at room temperature for up to 3 days, or refrigerate for up to a week. It also freezes well for up to 3 months.
Can I make this recipe gluten-free?
Absolutely! Substitute the all-purpose flour with your favorite gluten-free blend. Just ensure it’s a 1:1 replacement for best results.
Summary
This yellow squash cake is a moist, flavorful, and versatile dessert that’s perfect for summer. With its easy preparation and delicious outcome, it’s sure to become a staple in your baking repertoire.
