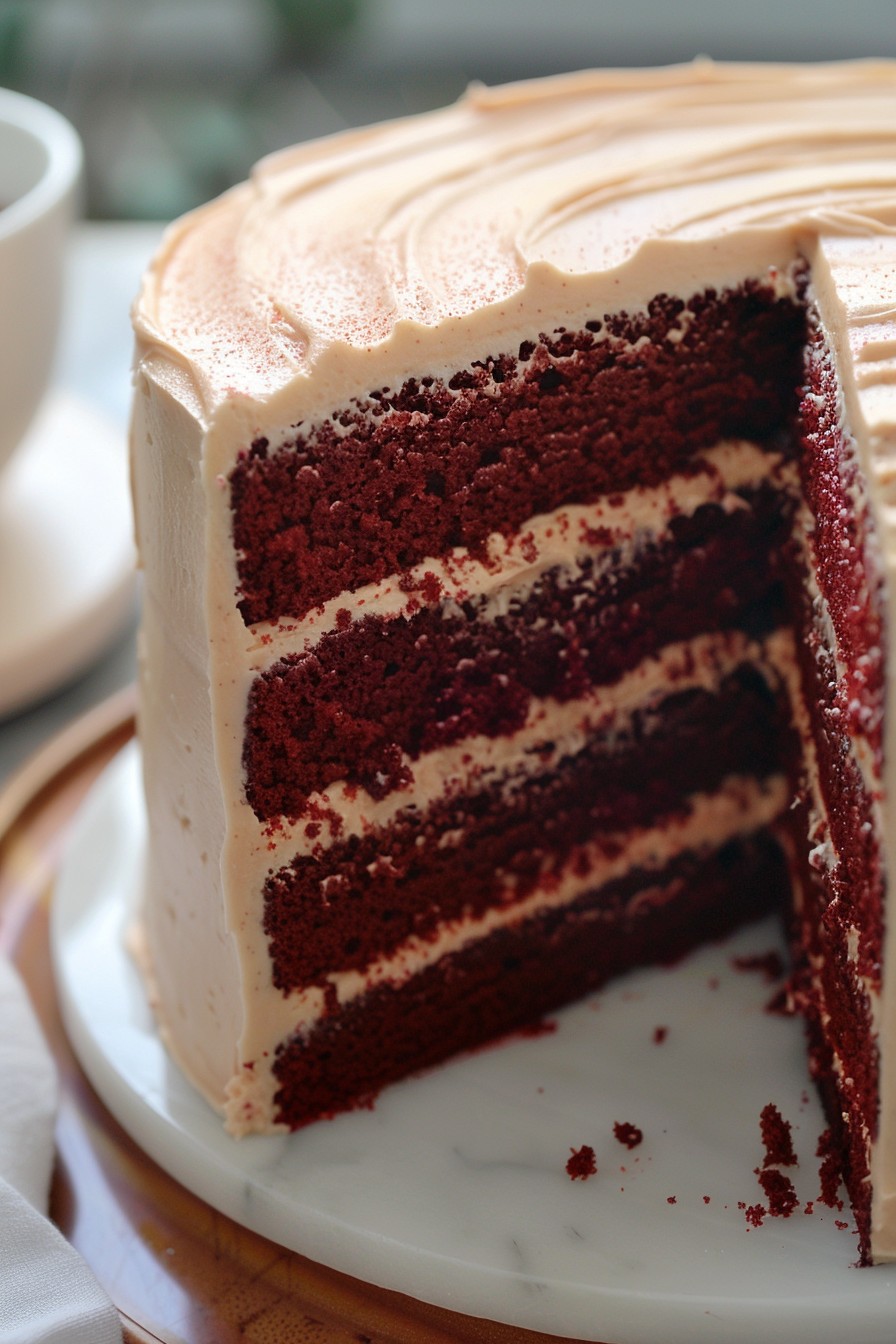

Baking a red velvet cake is like painting a masterpiece, but with flour and food coloring instead of brushes and paint. This recipe brings out the best in red velvet, combining the perfect balance of flavors and textures that make this cake a beloved classic. Let’s dive into the art of baking this vibrant dessert.
Why This Recipe Works
- The combination of buttermilk and vinegar tenderizes the cake, ensuring a moist and fluffy texture.
- Cocoa powder is used just enough to hint at chocolate without overpowering the cake’s signature flavor.
- The vibrant red color is achieved with a precise amount of food coloring, making the cake as visually stunning as it is delicious.
- This recipe includes a secret ingredient that enhances the cake’s flavor profile, setting it apart from others.
Ingredients
- 2 1/2 cups cake flour, sifted
- 1 1/2 cups granulated sugar
- 1 tsp baking soda
- 1 tsp salt
- 1 tsp cocoa powder
- 1 1/2 cups vegetable oil
- 1 cup buttermilk, room temperature
- 2 large eggs, room temperature
- 2 tbsp red food coloring
- 1 tsp vanilla extract
- 1 tsp white vinegar
Equipment Needed
- 9-inch round cake pans (2)
- Mixing bowls
- Whisk
- Electric mixer
- Spatula
- Cooling rack
Instructions
Preheat and Prepare
Preheat your oven to 350°F. Grease and flour two 9-inch round cake pans, lining the bottoms with parchment paper for easy removal. This ensures your cakes will come out perfectly shaped and without sticking.
Mix Dry Ingredients
In a large mixing bowl, sift together the cake flour, sugar, baking soda, salt, and cocoa powder. Sifting not only combines the ingredients but also aerates the flour, contributing to the cake’s light texture.
Combine Wet Ingredients
In another bowl, whisk together the vegetable oil, buttermilk, eggs, red food coloring, vanilla extract, and white vinegar. The vinegar reacts with the baking soda to help the cake rise, while the buttermilk adds tenderness.
Bring It All Together
Gradually add the wet ingredients to the dry ingredients, mixing on low speed until just combined. Overmixing can lead to a dense cake, so stop as soon as you no longer see streaks of flour.
Bake to Perfection
Divide the batter evenly between the prepared pans. Bake for 25-30 minutes, or until a toothpick inserted into the center comes out clean. Let the cakes cool in the pans for 10 minutes before transferring to a cooling rack.
Tips and Tricks
For an even more vibrant red color, use gel food coloring instead of liquid. It’s more concentrated, so you’ll need less, and it won’t affect the batter’s consistency. Always use room temperature ingredients to ensure a smooth, homogenous batter. If you’re short on buttermilk, make your own by adding 1 tablespoon of vinegar or lemon juice to 1 cup of milk and letting it sit for 5 minutes.
Recipe Variations
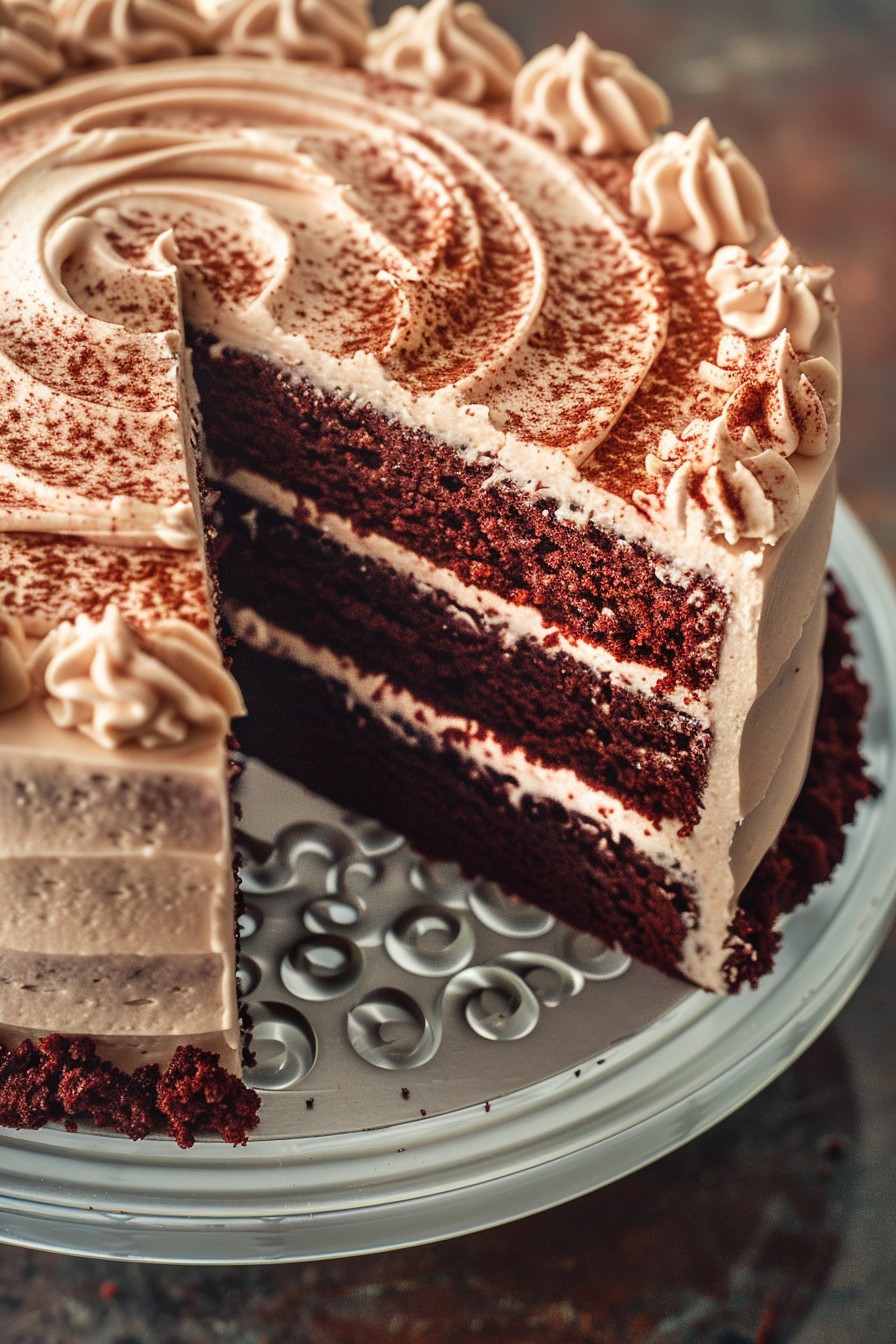
- Add a layer of cream cheese frosting between the cakes for an extra decadent treat.
- Incorporate white chocolate chips into the batter for a sweet surprise in every bite.
- For a nutty flavor, fold in 1/2 cup of finely chopped pecans or walnuts.
- Turn the cake into cupcakes for a portable version of this classic dessert.
Frequently Asked Questions
Can I use all-purpose flour instead of cake flour?
Yes, but cake flour is recommended for its finer texture, which contributes to the cake’s lightness. If using all-purpose flour, replace 2 tablespoons per cup with cornstarch to mimic cake flour’s properties.
Why is my cake not as red as I expected?
The vibrancy of the red color can vary based on the brand and type of food coloring used. Gel food coloring is more potent than liquid, so consider using it for a deeper red hue.
Can I make this cake ahead of time?
Absolutely! This cake actually tastes better the next day as the flavors have more time to meld. Just be sure to store it in an airtight container to maintain its moisture.
Summary
This red velvet cake flour recipe is a foolproof way to create a stunning and delicious dessert that’s perfect for any occasion. With its moist texture, subtle chocolate flavor, and vibrant color, it’s sure to impress.
