
A absolutely irresistible dessert that combines the creamy richness of cannoli filling with the convenience of an icebox cake. Perfect for those warm summer days when you crave something sweet but don’t want to turn on the oven. This recipe is a game-changer for dessert lovers everywhere.
Why This Recipe Works
- No baking required, making it perfect for hot summer days or when you’re short on time.
- Layers of crispy cannoli shells and creamy filling mimic the traditional cannoli experience in cake form.
- Customizable with your favorite mix-ins like chocolate chips, nuts, or fruit for a personal touch.
Ingredients
- 2 cups heavy cream
- 1 cup ricotta cheese, drained
- 1/2 cup powdered sugar
- 1 tsp vanilla extract
- 1/2 cup mini chocolate chips
- 24 cannoli shells, broken into pieces
Equipment Needed
- Electric mixer
- Mixing bowls
- 9×13 inch baking dish
- Spatula
Instructions
Step 1: Whip the Cream
In a large mixing bowl, use an electric mixer to whip the heavy cream until stiff peaks form. This should take about 3-4 minutes on high speed. Be careful not to overmix, or you’ll end up with butter. Tip: Chill your mixing bowl and beaters in the freezer for 10 minutes before starting to ensure the cream whips up nicely.
Step 2: Prepare the Filling
In another bowl, combine the ricotta cheese, powdered sugar, and vanilla extract. Mix until smooth. Gently fold in the whipped cream until fully incorporated. Stir in the mini chocolate chips. Tip: For an extra smooth filling, press the ricotta through a fine mesh sieve before mixing.
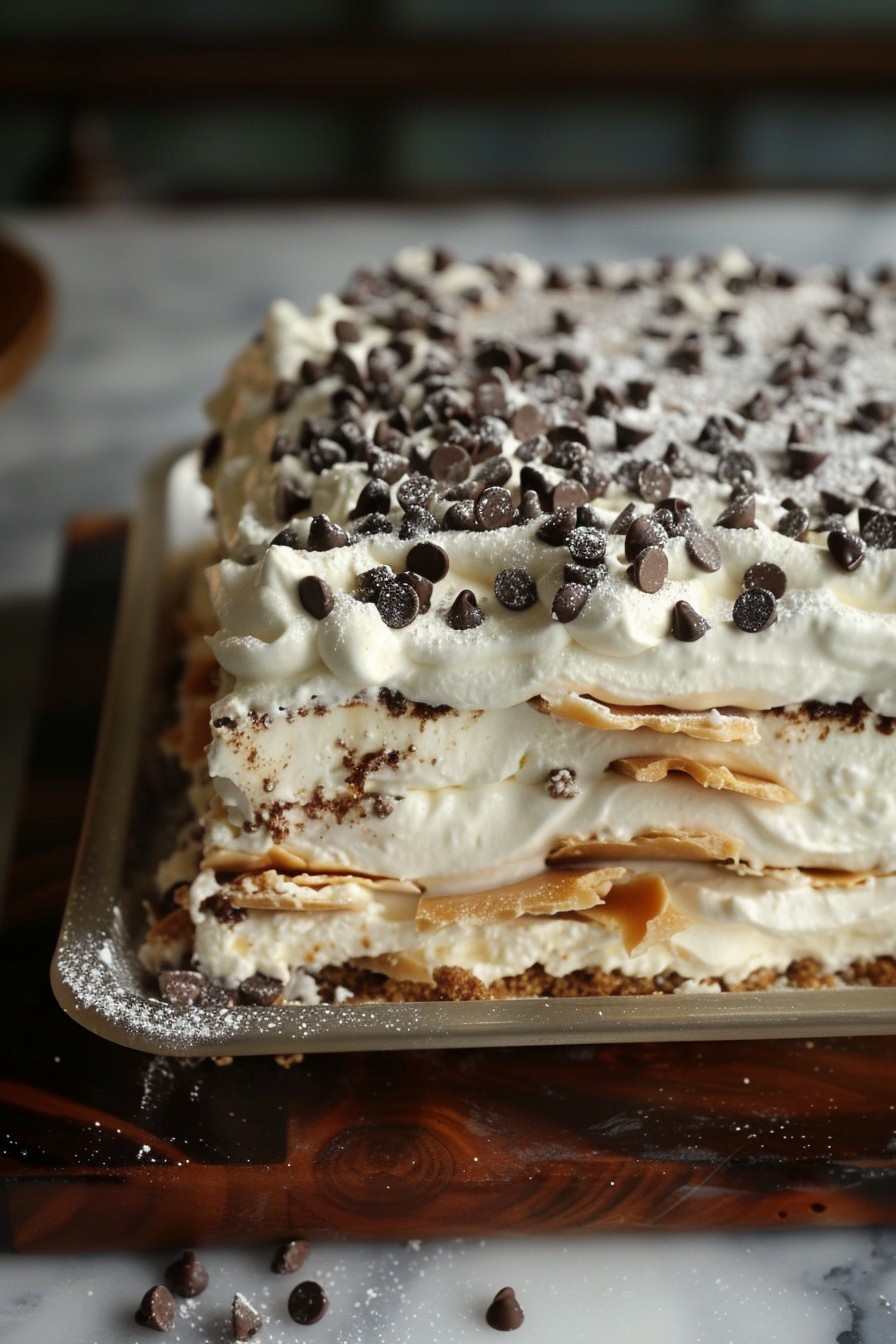
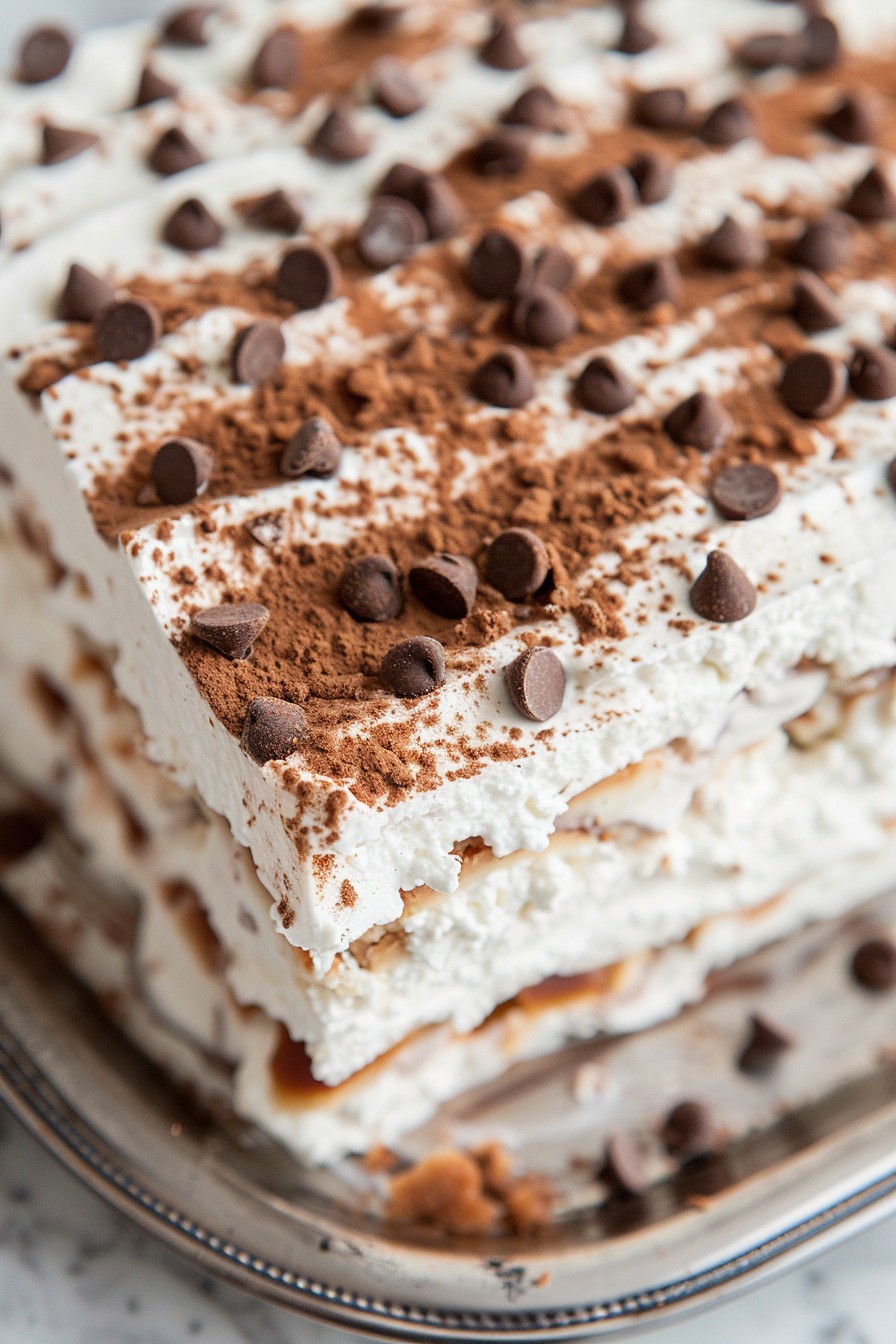
Step 3: Layer the Cake
In a 9×13 inch baking dish, spread a thin layer of the cream mixture on the bottom. Arrange a layer of broken cannoli shells over the cream. Repeat the layers, ending with a cream layer on top. Cover and refrigerate for at least 4 hours, or overnight. Tip: For easier serving, let the cake sit at room temperature for 10 minutes before slicing.
Tips and Tricks
For those looking to elevate their cannoli icebox cake, consider toasting the cannoli shells lightly before layering for an extra crunch. If you’re not a fan of chocolate chips, try substituting with chopped pistachios or candied orange peel for a different flavor profile. For a lighter version, you can substitute half of the heavy cream with mascarpone cheese. Always ensure your ricotta is well-drained to prevent a watery filling. Lastly, for a festive touch, garnish the top with additional chocolate chips or a dusting of cocoa powder before serving.
Recipe Variations
- Chocolate Lovers: Add a layer of chocolate ganache between the cream and cannoli shells.
- Fruit Infusion: Mix in diced strawberries or raspberries into the cream filling for a fruity twist.
- Nutty Delight: Replace chocolate chips with chopped toasted almonds or hazelnuts for added crunch.
Frequently Asked Questions
Can I make this cake ahead of time?
Absolutely! This cake actually tastes better the longer it sits, as the cannoli shells soften slightly and the flavors meld together. It can be made up to 2 days in advance, just be sure to keep it covered in the refrigerator.
Can I use store-bought cannoli shells?
Yes, store-bought cannoli shells work perfectly fine for this recipe. However, if you’re feeling adventurous, homemade shells will take this dessert to the next level.
How long does the cake need to set?
The cake needs at least 4 hours in the refrigerator to set properly, but overnight is ideal. This allows the cannoli shells to soften just enough while still maintaining some texture.
Summary
This Cannoli Icebox Cake is a no-bake wonder that brings the classic flavors of cannoli into an easy-to-make dessert. With layers of creamy filling and crispy shells, it’s a hit for any occasion. Customize it with your favorite add-ins and enjoy a slice of Italian heaven.
