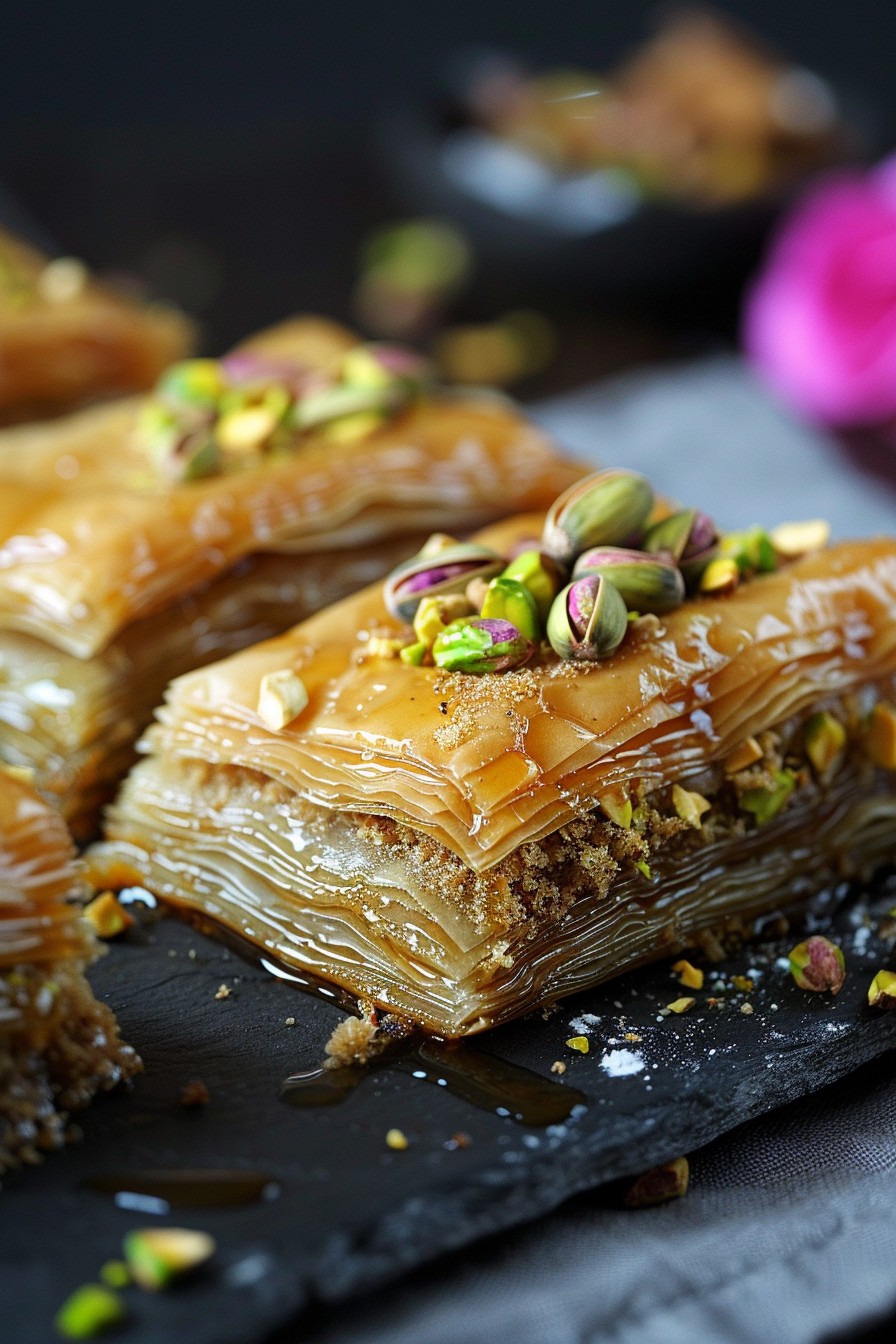

Prepare to embark on a culinary journey to the heart of Iran with this decadent baklava cake recipe. Perfect for those who adore the classic baklava but crave the simplicity of a cake, this recipe is a game-changer.
Why This Recipe Works
- Combines the rich flavors of traditional baklava with the ease of a cake.
- Uses readily available ingredients for a hassle-free baking experience.
- Perfect balance of sweetness and texture, thanks to the careful layering of nuts and syrup.
Ingredients
- 2 cups all-purpose flour
- 1 cup unsalted butter, melted
- 1/2 cup granulated sugar
- 1 cup mixed nuts (pistachios, walnuts, almonds), finely chopped
- 1 tsp ground cardamom
- 1/2 cup honey
- 1/2 cup water
- 1 tbsp rose water
Equipment Needed
- 9-inch round cake pan
- Mixing bowls
- Whisk
- Pastry brush
- Oven
Instructions

Preheat and Prepare
Start by preheating your oven to 350°F. Grease your cake pan with a bit of the melted butter to ensure your baklava cake doesn’t stick. This step is crucial for a flawless release later on.
Mix the Dry Ingredients
In a large mixing bowl, combine the flour, sugar, and ground cardamom. Whisk these together to ensure an even distribution of flavors. This mixture will form the base of your cake, so take your time to get it right.
Layer the Nuts
Spread half of your flour mixture into the prepared cake pan. Top this with the finely chopped mixed nuts, creating a layer that’s both flavorful and textured. The nuts are the star of the show, so don’t skimp!
Add the Remaining Flour Mixture
Carefully add the rest of the flour mixture over the nuts, pressing down gently to compact the layers. This ensures your cake holds together beautifully once baked.
Bake to Perfection
Place your cake in the preheated oven and bake for 45 minutes, or until the top is golden brown. The aroma filling your kitchen will be your first clue that something magical is happening.
Prepare the Syrup
While the cake bakes, combine honey, water, and rose water in a small saucepan. Bring to a simmer over medium heat, stirring occasionally, until the mixture thickens slightly. This syrup will add moisture and sweetness to your cake.
Final Touches
Once the cake is out of the oven, immediately pour the warm syrup over the top, allowing it to soak in. Let the cake cool completely before slicing to ensure clean, beautiful pieces.
Tips and Tricks
For an even more decadent treat, consider adding a layer of thinly sliced butter between the flour and nut layers before baking. This will create an even richer texture. Additionally, toasting the nuts before chopping can enhance their flavor, adding another layer of complexity to your cake. Finally, if you’re short on time, you can use store-bought syrup, but homemade really makes a difference.
Recipe Variations
- Chocolate Drizzle: Add a chocolate drizzle over the top for a modern twist.
- Spice It Up: Incorporate cinnamon or nutmeg for a warmer flavor profile.
- Fruit Infusion: Layer in some dried fruits like apricots or dates for a chewy contrast.
Frequently Asked Questions
Can I use different nuts?
Absolutely! While pistachios, walnuts, and almonds are traditional, feel free to experiment with your favorites. Just ensure they’re finely chopped to maintain the cake’s texture.
How long does this cake keep?
Stored in an airtight container, your baklava cake will stay fresh for up to 5 days at room temperature. The syrup helps preserve its moisture.
Can I make this gluten-free?
Yes, by substituting the all-purpose flour with a gluten-free blend. Keep in mind the texture might vary slightly, but the flavors will remain just as delightful.
Summary
This Iranian baklava cake recipe offers a delightful twist on a classic, combining the ease of cake with the rich flavors of traditional baklava. Perfect for any occasion, it’s sure to impress.
