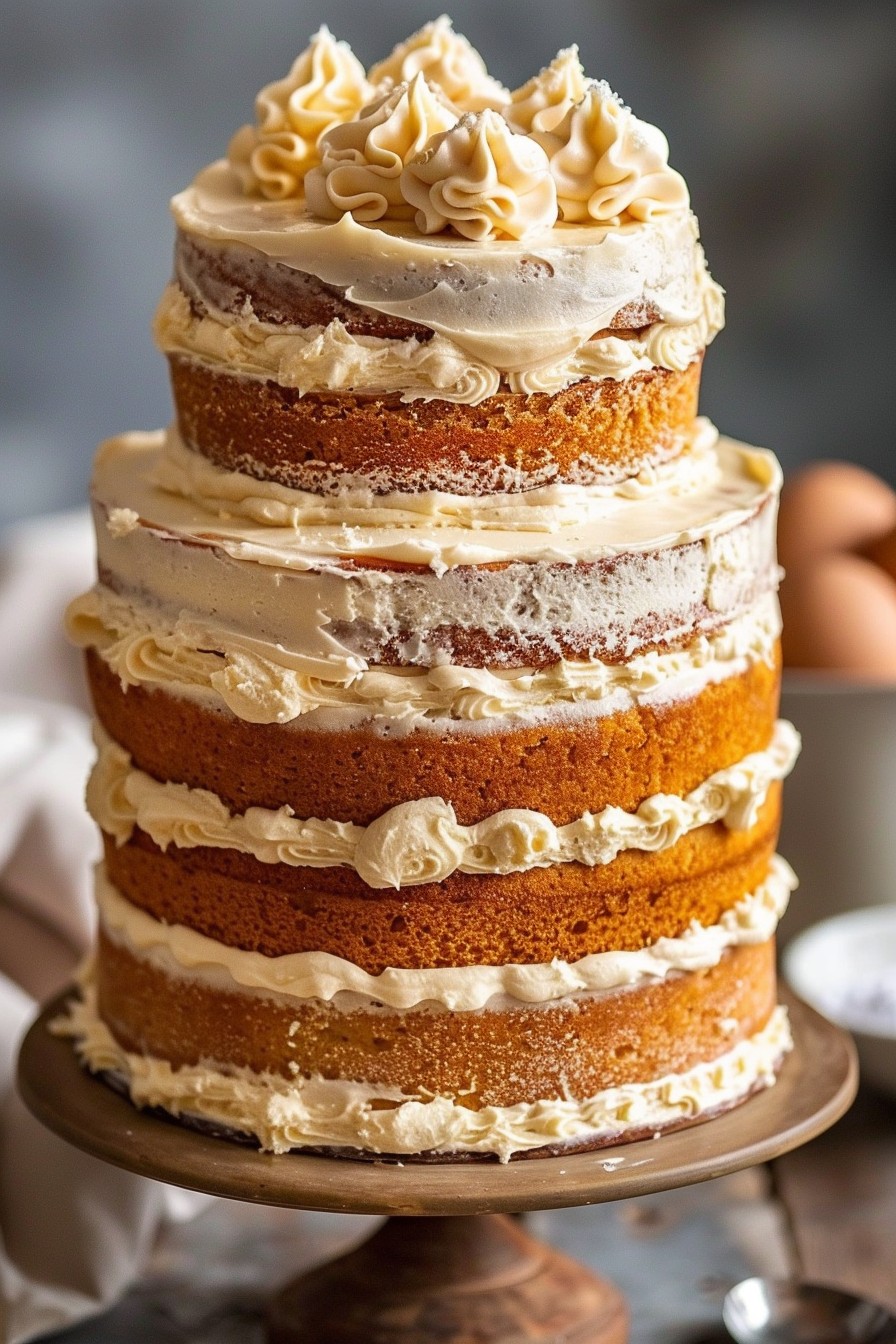

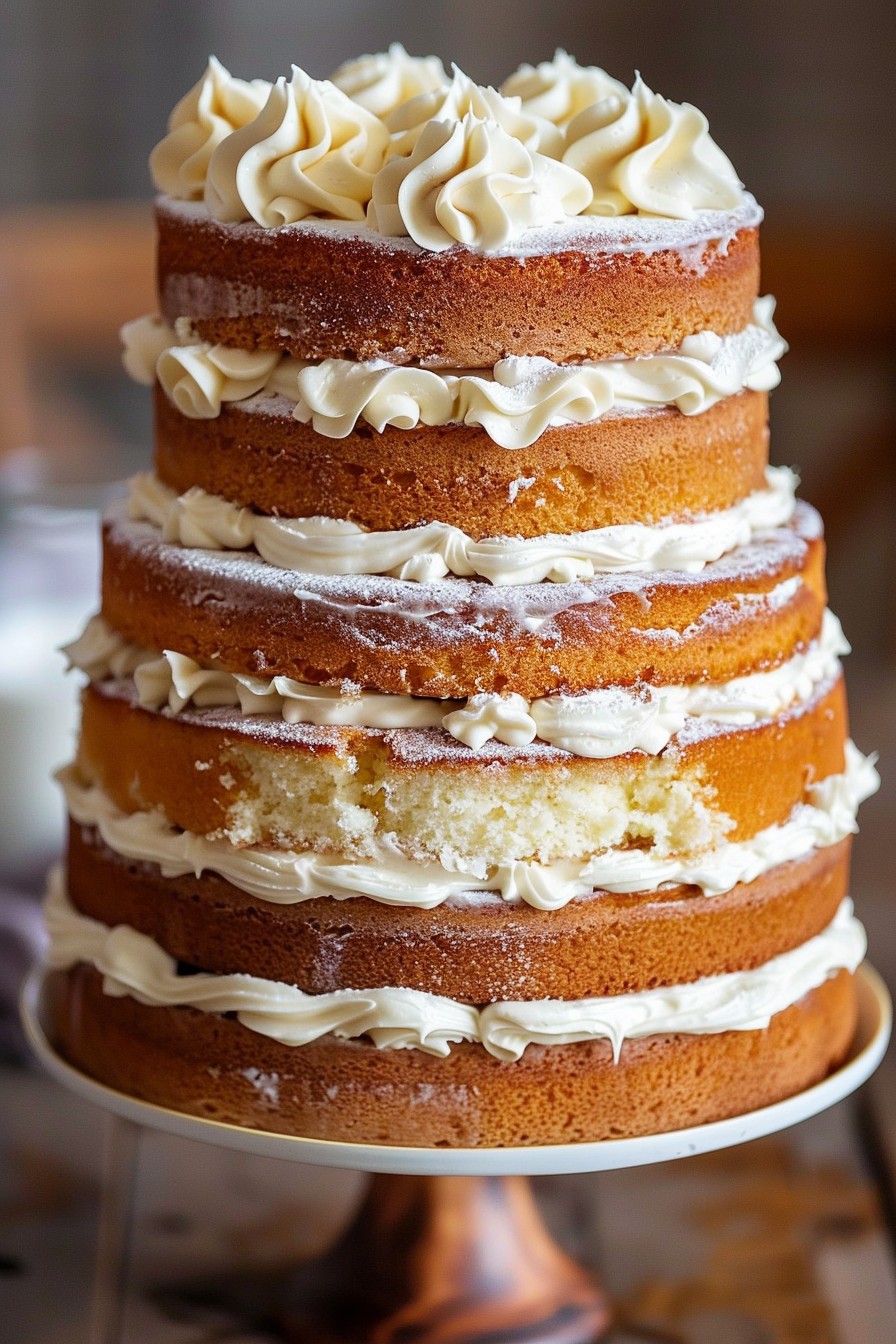
Fancy a baking challenge that rewards you with a showstopping centerpiece? This tiered cake recipe is your ticket to baking glory, combining fluffy layers, rich frosting, and the wow factor that’ll have everyone asking for seconds.
Why This Recipe Works
- Perfect Balance: The cake layers are moist yet sturdy enough to support the tiers, ensuring your masterpiece stands tall.
- Rich Frosting: A decadent buttercream frosting not only tastes divine but also acts as the perfect glue between layers.
- Customizable: Easily adapt the flavors and decorations to suit any occasion, from birthdays to weddings.
Ingredients
- 3 cups all-purpose flour
- 2 cups granulated sugar
- 1 cup unsalted butter, softened
- 4 large eggs
- 1 cup whole milk
- 1 tbsp vanilla extract
- 1 tsp baking powder
- 1/2 tsp salt
- 4 cups powdered sugar (for frosting)
- 1 cup unsalted butter, softened (for frosting)
- 2 tbsp heavy cream (for frosting)
Equipment Needed
- Three 8-inch round cake pans
- Stand mixer or hand mixer
- Mixing bowls
- Measuring cups and spoons
- Offset spatula
- Cake leveler or serrated knife
Instructions
Preheat and Prepare
Preheat your oven to 350°F. Grease and flour your cake pans to ensure the cakes release easily after baking. This step is crucial for avoiding any cake catastrophes later on.
Mix the Batter
In a large bowl, cream together the butter and sugar until light and fluffy. Add the eggs one at a time, then stir in the vanilla. Alternate adding the dry ingredients and milk, starting and ending with the dry ingredients. Mix until just combined to keep the cake tender.
Bake to Perfection
Divide the batter evenly among the prepared pans. Bake for 25-30 minutes, or until a toothpick inserted into the center comes out clean. Let the cakes cool in the pans for 10 minutes before transferring to a wire rack to cool completely.
Whip Up the Frosting
While the cakes cool, beat the butter for the frosting until creamy. Gradually add the powdered sugar, then the heavy cream, beating until the frosting is light and fluffy. This is your moment to taste-test—quality control is key!
Assemble with Care
Level the tops of the cakes with a cake leveler or knife. Place the first layer on your serving plate, spread with frosting, and repeat with the remaining layers. Frost the outside of the cake smoothly or get creative with decorative swirls.
Tips and Tricks
For an extra moist cake, brush each layer with simple syrup before frosting. If you’re new to tiered cakes, consider using dowels for added support between layers. And remember, patience is a virtue—let your cake layers cool completely to avoid a frosting meltdown.
Recipe Variations
- Chocolate Lover’s Dream: Swap out 1/2 cup of flour for cocoa powder in the batter and add chocolate chips to the frosting.
- Fruity Delight: Layer fresh berries between the cake layers and mix berry puree into the frosting for a fruity twist.
- Nutty Affair: Fold chopped nuts into the batter and use a nutty liqueur in the frosting for an adult version.
Frequently Asked Questions
Can I make this cake ahead of time?
Absolutely! Bake the layers up to two days in advance and store them wrapped tightly at room temperature. Frost the cake the day you plan to serve it for the freshest taste.
How do I transport a tiered cake?
Use a cake carrier or a sturdy box. Chill the cake first to firm up the frosting, and drive carefully—no sudden stops!
Can I freeze the cake layers?
Yes, wrapped tightly in plastic wrap and foil, the layers can be frozen for up to a month. Thaw overnight in the fridge before assembling.
Summary
This tiered cake recipe is a labor of love that pays off with a stunning and delicious centerpiece. Perfect for special occasions, it’s sure to impress with its perfect balance of flavors and textures.
